What You Need Before You Start
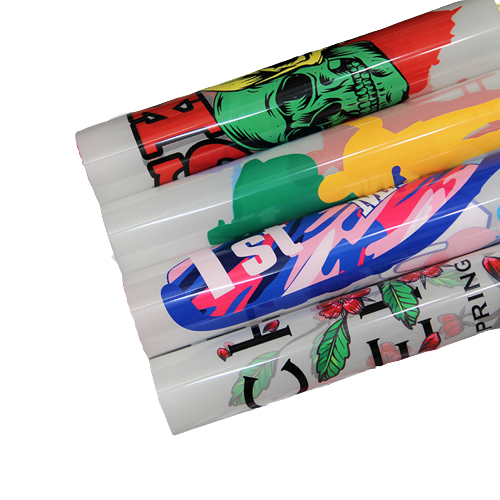
- Your DTF transfer (from Printing Planet UK’s DTF transfers service or another supplier)
- A heat press or household iron
- A flat, hard surface (a wooden board or ironing board with a firm pad)
- A silicone sheet or baking parchment
- Your garment, pre-washed and free of creases
Temperature and Pressure Settings
| Application method | Temperature | Pressure | Time |
|---|---|---|---|
| Heat press | 160 degrees C | Medium-firm | 15 seconds |
| Household iron | High (cotton setting) | Firm, no steam | 20 to 25 seconds |
These settings work for most cotton and polyester blends. For 100% polyester or heat-sensitive fabrics, drop the temperature by 10 degrees and add 5 seconds.
Step 1: Pre-Press the Garment
Place your garment on the heat press or ironing board and press for 3 to 5 seconds without any transfer on top. This removes moisture and creases that could cause uneven adhesion.
Step 2: Position the Transfer
Place the transfer face down (film side up, print side touching the fabric). The print will not be visible at this stage, only the clear PET film.
Step 3: Apply Heat and Pressure
Cover with a silicone sheet or baking parchment. Press at the settings above. Apply even, firm pressure across the whole design.
Do not rock or slide the iron. Keep it still.
Step 4: Wait Before Peeling
Let the transfer cool completely, about 20 to 30 seconds. Then peel the film slowly from one corner. If the ink lifts with the film, press for another 5 seconds and wait again.
Some transfers are designed for hot peel (peel while warm). Check with your supplier which type you have. Our DTF transfers at Printing Planet UK are cold-peel unless otherwise stated.
Step 5: Finish Press (Optional but Recommended)
After peeling, place the silicone sheet back over the design and press for a further 5 seconds. This seals the edges and improves wash durability.
Common Application Mistakes
Peeling too early - if you peel while still warm on a cold-peel transfer, the ink will not have bonded fully and the design will crack or lift.
Not enough pressure - DTF relies on firm, even pressure to drive the hot-melt adhesive into the fabric fibres. A light touch leaves patchy adhesion.
Steam - turn off the steam setting on your iron. Moisture under the film prevents proper bonding.
Uneven surface - pressing over a button, zip, or thick seam creates uneven pressure. Use a sleeve board or fold a thick towel under the fabric to raise the print area level.
Wrong temperature - too hot and you scorch the garment or bubble the print. Too cool and the adhesive does not activate.
How Long Do DTF Transfers Last?
Properly applied DTF transfers last 50 plus washes when cared for correctly. After pressing:
- Wait 24 hours before the first wash
- Wash inside out at 30 degrees C
- Do not bleach or dry clean
- Do not iron directly on the print
- Tumble dry on low or air dry flat
Can You Apply DTF Transfers Without a Heat Press?
Yes. A household iron on the cotton/linen setting works well for flat areas like chest prints and tote bags. The key is firm, sustained pressure. Move slowly across the design in 10-second sections rather than trying to cover it all at once.
For curved surfaces like caps or sleeves, a press with a rounded platen gives better results than an iron.
Buying Transfers in London
If you are based in or near London, you can order DTF transfers from our Putney shop and collect the same day on most orders. We print on 60 cm wide PET film at £15 per metre, with no setup fee.